Easter Holiday craft

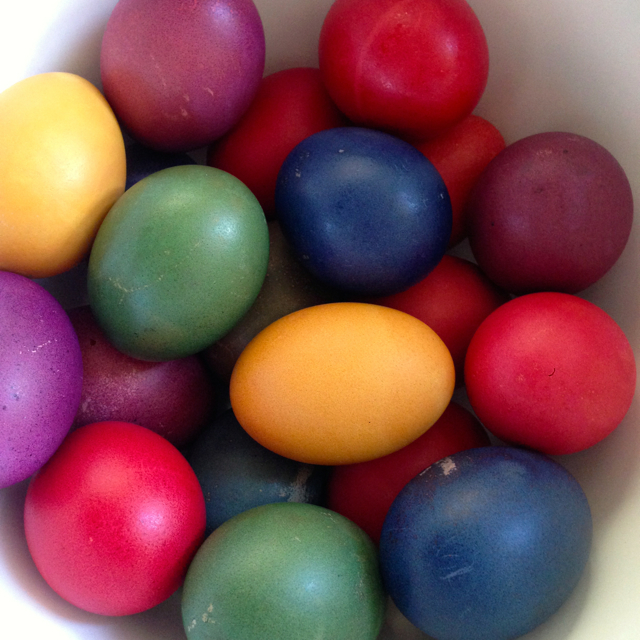
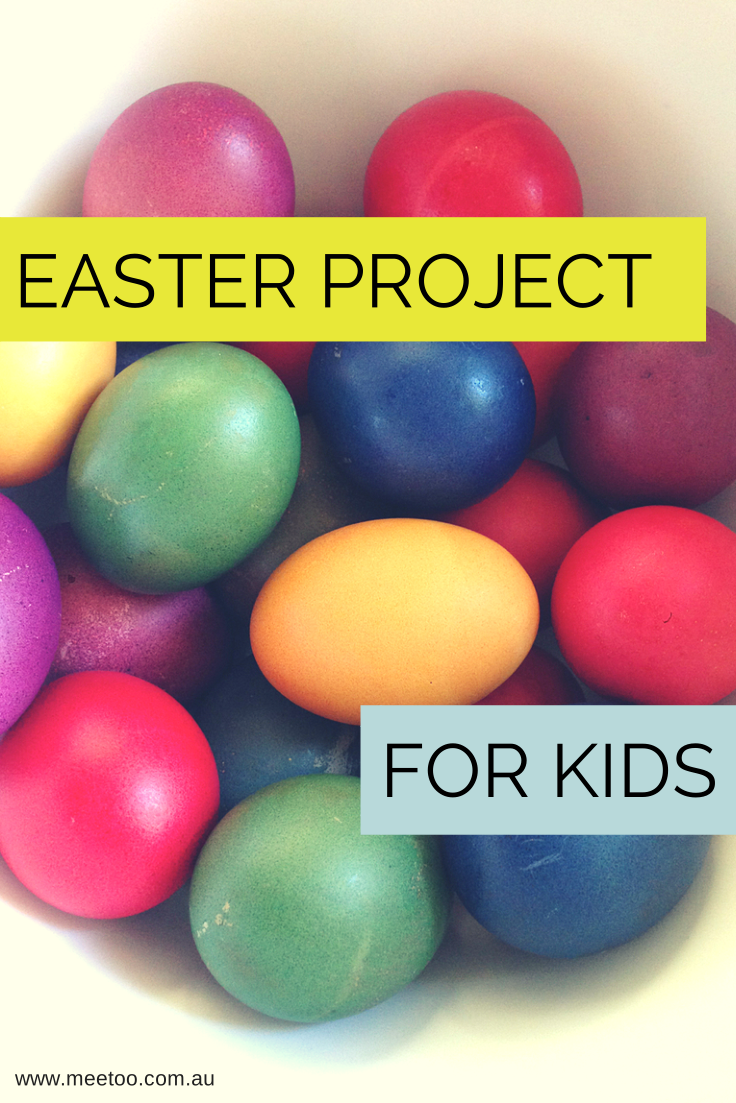
The kids and I got messy the other day and I decided to document it, partly because it’s rare we get our craft on at home and also because I got some egg dye a little while back and I was excited to see how it might turn out (and I loved the end result).
What you will need
1 packet of egg dye (or you can use regular food dye, for instruction on how to use ordinary food colouring click here)
Paper towel, tongs, vinegar, measuring cup, oil or fat (to polish the eggs)
Fresh eggs and egg cartons
paints & brushes
What to do
Empty your egg cartons, peel off any labels and give a quick undercoat with white paint.
Set the kids up to decorate the boxes and while they are doing that begin the egg dying (I felt with boiling water and dye it was safer for me to manage this part of the project)
While the eggs are cooking get the dye ready – the dye I was using was a cold dye but the eggs needed to be just boiled for best results. To the dye tablet add 2 tablespoons of vinegar and dissolve the tablet, then add 250ml of cold water.
Sit the boiling hot eggs in the dye for at least 5 minutes, some colours needed longer. While you’re waiting for eggs to dye and painted egg cartons to dry stop for a tea break and hot cross buns
Place the dyed eggs onto paper towel and pat dry. Once the eggs are completely dry add some oil (or fat) and gently polish – kids can help with this
After you’ve finished admiring your handy work get the kids to put eggs into their cartons – for fun add in some chocolate eggs too 🙂 Voila – an Easter treat for all the family that’s not just another big chocolate.
TIP: Boiled eggs last for 7 days refrigerated.
For our Easter baking idea click here.


